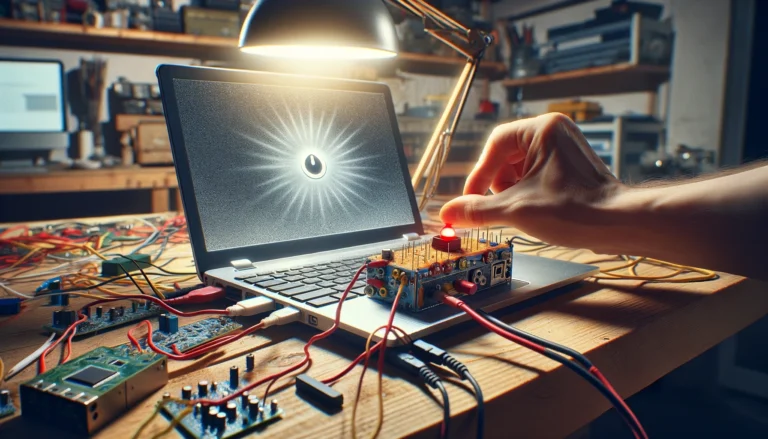
Every computer user has faced the dreaded scenario: you press the power button, but your computer remains unresponsive. There could be various reasons why your computer won’t start up, ranging from minor issues to more complex hardware problems. This comprehensive guide will walk you through a series of troubleshooting steps to help you identify and resolve the root cause of the problem and get your computer up and running again.
1. Check the Power Source
Verify the wall outlet and power cord: Ensure that the power outlet is functioning properly by plugging in another device. Check the power cord for any signs of damage, such as fraying or exposed wires. Replace the cord if necessary.
Inspect the power supply: If your computer has a separate power supply unit (PSU), it may be faulty. Disconnect the PSU and check for any visible damage. Try using a known-good PSU to test the system.
2. Examine the Display
Ensure the monitor is connected: Verify that the monitor is properly connected to the computer using the appropriate cable (e.g., HDMI, DisplayPort, VGA). Check both ends of the cable for any loose connections or damage.
Test the monitor: If possible, connect the monitor to a different computer to determine if it is functioning correctly. Alternatively, connect a different monitor to your computer to isolate the issue.
3. Inspect Internal Connections
Reseat components: Open the computer case and firmly reseat all internal components, including the graphics card, RAM modules, and storage drives. Make sure they are securely connected and properly seated in their slots.
Check cables: Inspect all internal cables, including power cables, data cables, and fan connectors, for any signs of damage or loose connections. Ensure that they are properly plugged in and secured.
4. Troubleshoot Hardware Components
Test the RAM: Remove one RAM module at a time and check if the computer starts. If it does, the faulty module may need to be replaced.
Check the graphics card: If your computer has a dedicated graphics card, remove it and try starting the system with the integrated graphics (if available). If the computer starts, the graphics card may be faulty.
Inspect the motherboard: Look for any signs of damage on the motherboard, such as burn marks, bulging capacitors, or loose components.
5. Perform a CMOS Reset
Locate the CMOS jumper: Find the CMOS jumper on the motherboard. It is usually labeled “CLR CMOS” or “RESET.”
Clear the CMOS: Follow the motherboard manufacturer’s instructions to clear the CMOS. This typically involves moving the jumper to a different position for a few seconds and then returning it to its original position.
6. Repair or Replace the Hard Drive
Test the hard drive: If the computer starts but fails to boot into the operating system, the hard drive may be faulty. Try booting from a live CD/USB or connecting the drive to another computer to see if it is recognized.
Replace the hard drive: If the hard drive is confirmed to be faulty, purchase and install a new one. Make sure it is compatible with your computer and has sufficient storage capacity.
7. Seek Professional Help
If none of the above steps resolve the issue, it is likely a more complex hardware or software problem. In such cases, it is best to seek assistance from a qualified computer repair technician or contact the manufacturer for support.
Conclusion
Troubleshooting a computer that won’t start can be a daunting task, but by following a systematic approach and carefully inspecting various components, you can often identify and resolve the issue. If the problem persists, do not hesitate to seek professional help to ensure the safety of your data and the longevity of your computer.
FAQs
Q: What are some common reasons why a computer won’t start?
A: Common reasons include faulty power supply, loose internal connections, defective hardware components, or a corrupted operating system.
Q: Can I troubleshoot a computer that won’t start if I have no prior experience?
A: It is possible, but it is important to proceed cautiously and follow a step-by-step guide like the one provided in this blog post. If you encounter any uncertainties, it is best to seek professional assistance.
Q: Is it safe to open up a computer case and inspect internal components?
A: Opening the computer case can be safe if done carefully. Ensure that the computer is powered off, unplugged, and discharged of static electricity. Handle the components gently and avoid touching delicate parts.
- Is It OK to Clean Laptop Keyboard With Wet Wipes? - March 19, 2024
- How Long Does it Take For a Completely Dead Laptop to Charge? - March 18, 2024
- How Do You Fix a Computer That Won’t Turn on But Has Power? - March 18, 2024


